How to order a Geospatial Map:
Send email to GEO Inbox geospatialservices@thebdx.com and provide the name of the Community.
Within 24 hours, you will receive a contract for signature.
You will then receive a BDX Sync invitation in your inbox.
The email will link you to the Order Intake Form where you can upload assets, answer a few questions, and we’ll get started right away!
Let’s walk through the Order Intake Form…
Project Basic Details: This shows the scope and contact details of the order we’re going to process for you. If there are any errors, please reach out to your Account Manager for assistance.
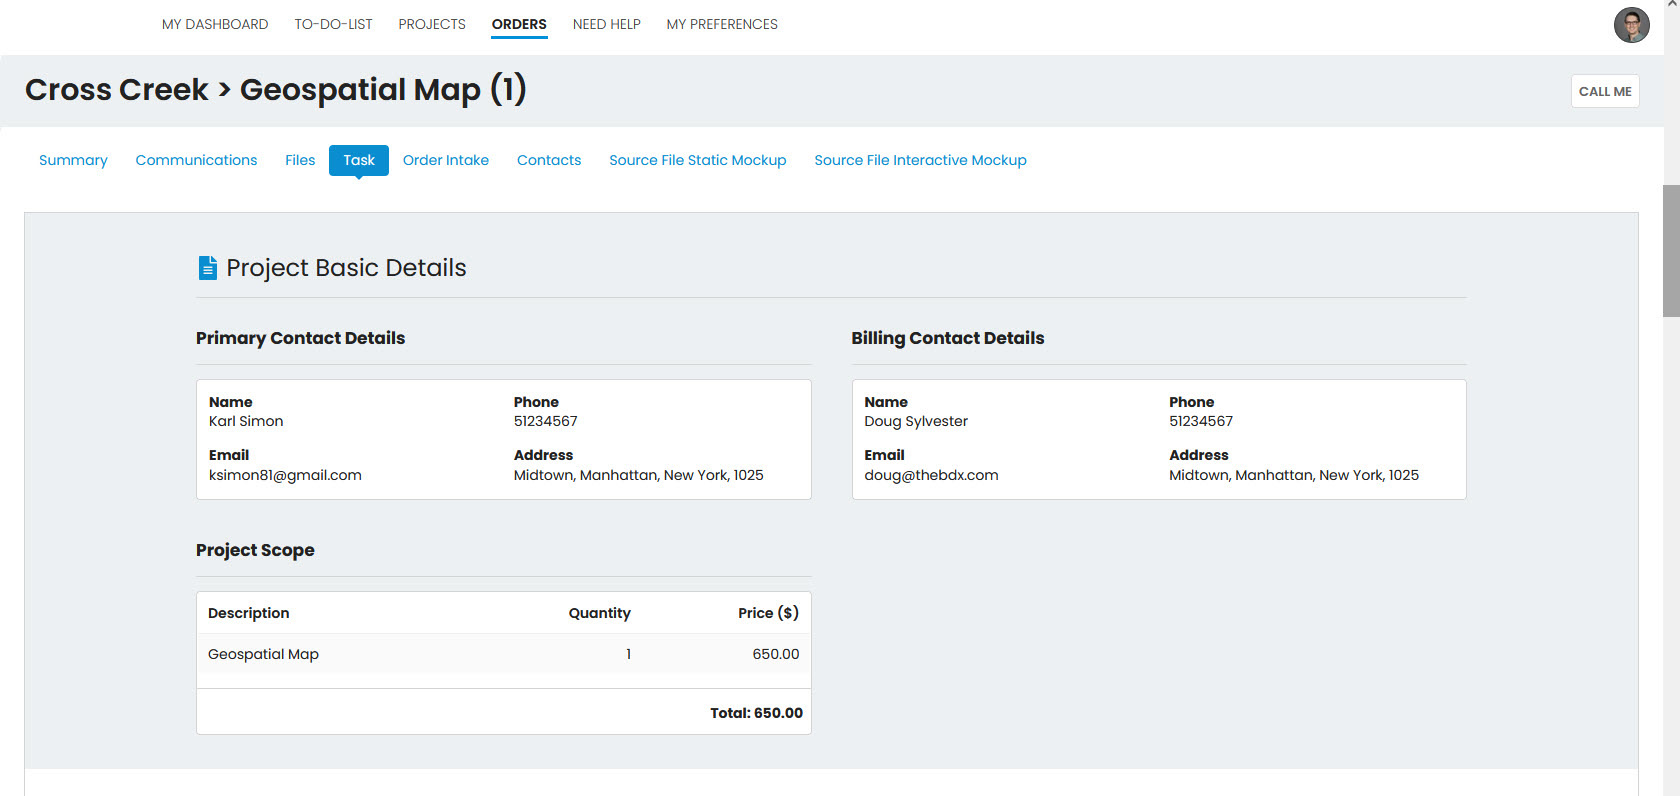
Community Details: Tell us more about your community and preferences by answering a few easy questions.

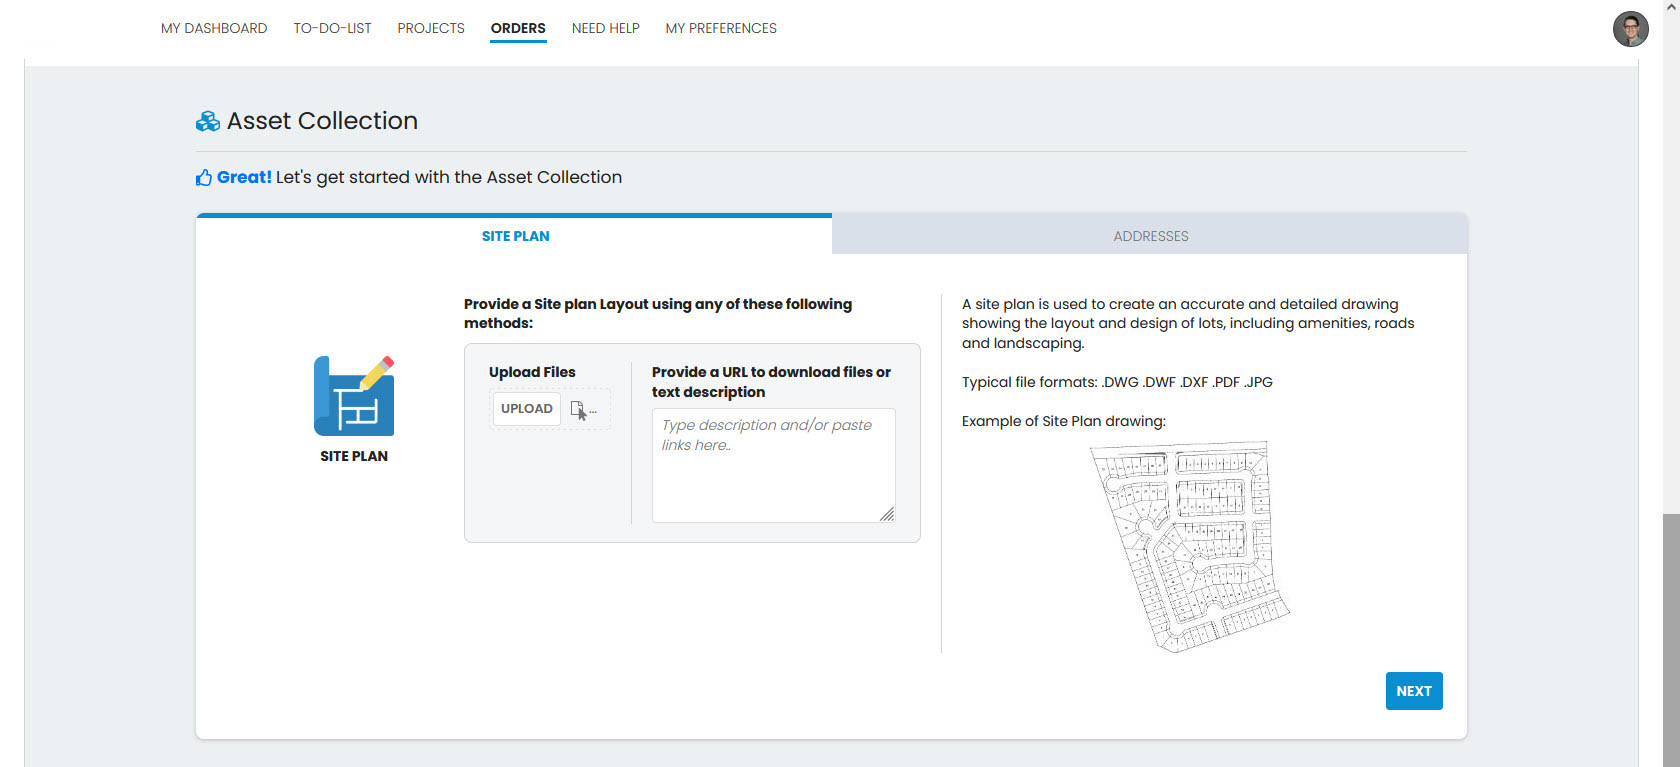
Asset Collection:
- Provide a Site Plan of your community. You can either upload files directly or provide a link to an outside location for download.
- After you have provided your Site Plan, use either the NEXT button or click on the Addresses tab to continue.
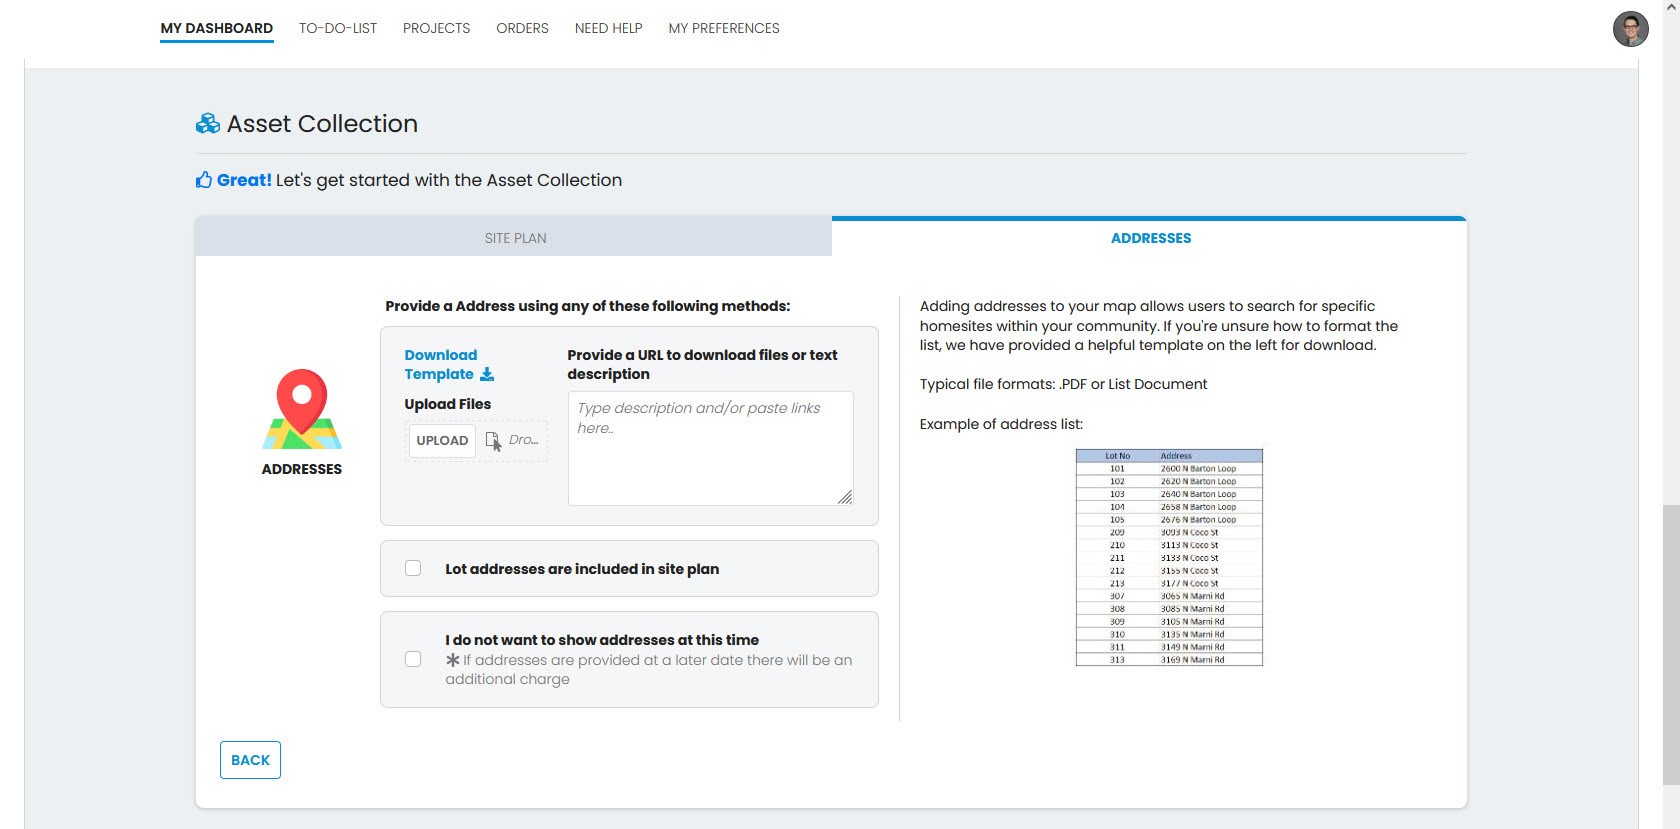
Asset Collection Continued: If you wish to show lot addresses, we have multiple ways to provide that data. We have provided a helpful template to download and fill out, or you may upload your own documents. Additional options are available, if applicable.
Additional Notes: [OPTIONAL] If you have any special instructions, that we should be aware of, provide them in the extra space at the bottom. There is room for additional notes and/or files.

Once all files and answers have been added to the Order Intake Form, the SUBMIT button will activate, allowing your order to become active. Your Account Manager will review everything and take it from there!
Best Practices:
- Assets are not required when sending the initial email with community name. Assets should be uploaded into the Order Intake Form within BDX Sync.
- For multiple communities, you can send one email and we will provide a single contract. Each community will show up as a separate order within BDX Sync.
- If you need help at any time, our contact information is at your fingertips.
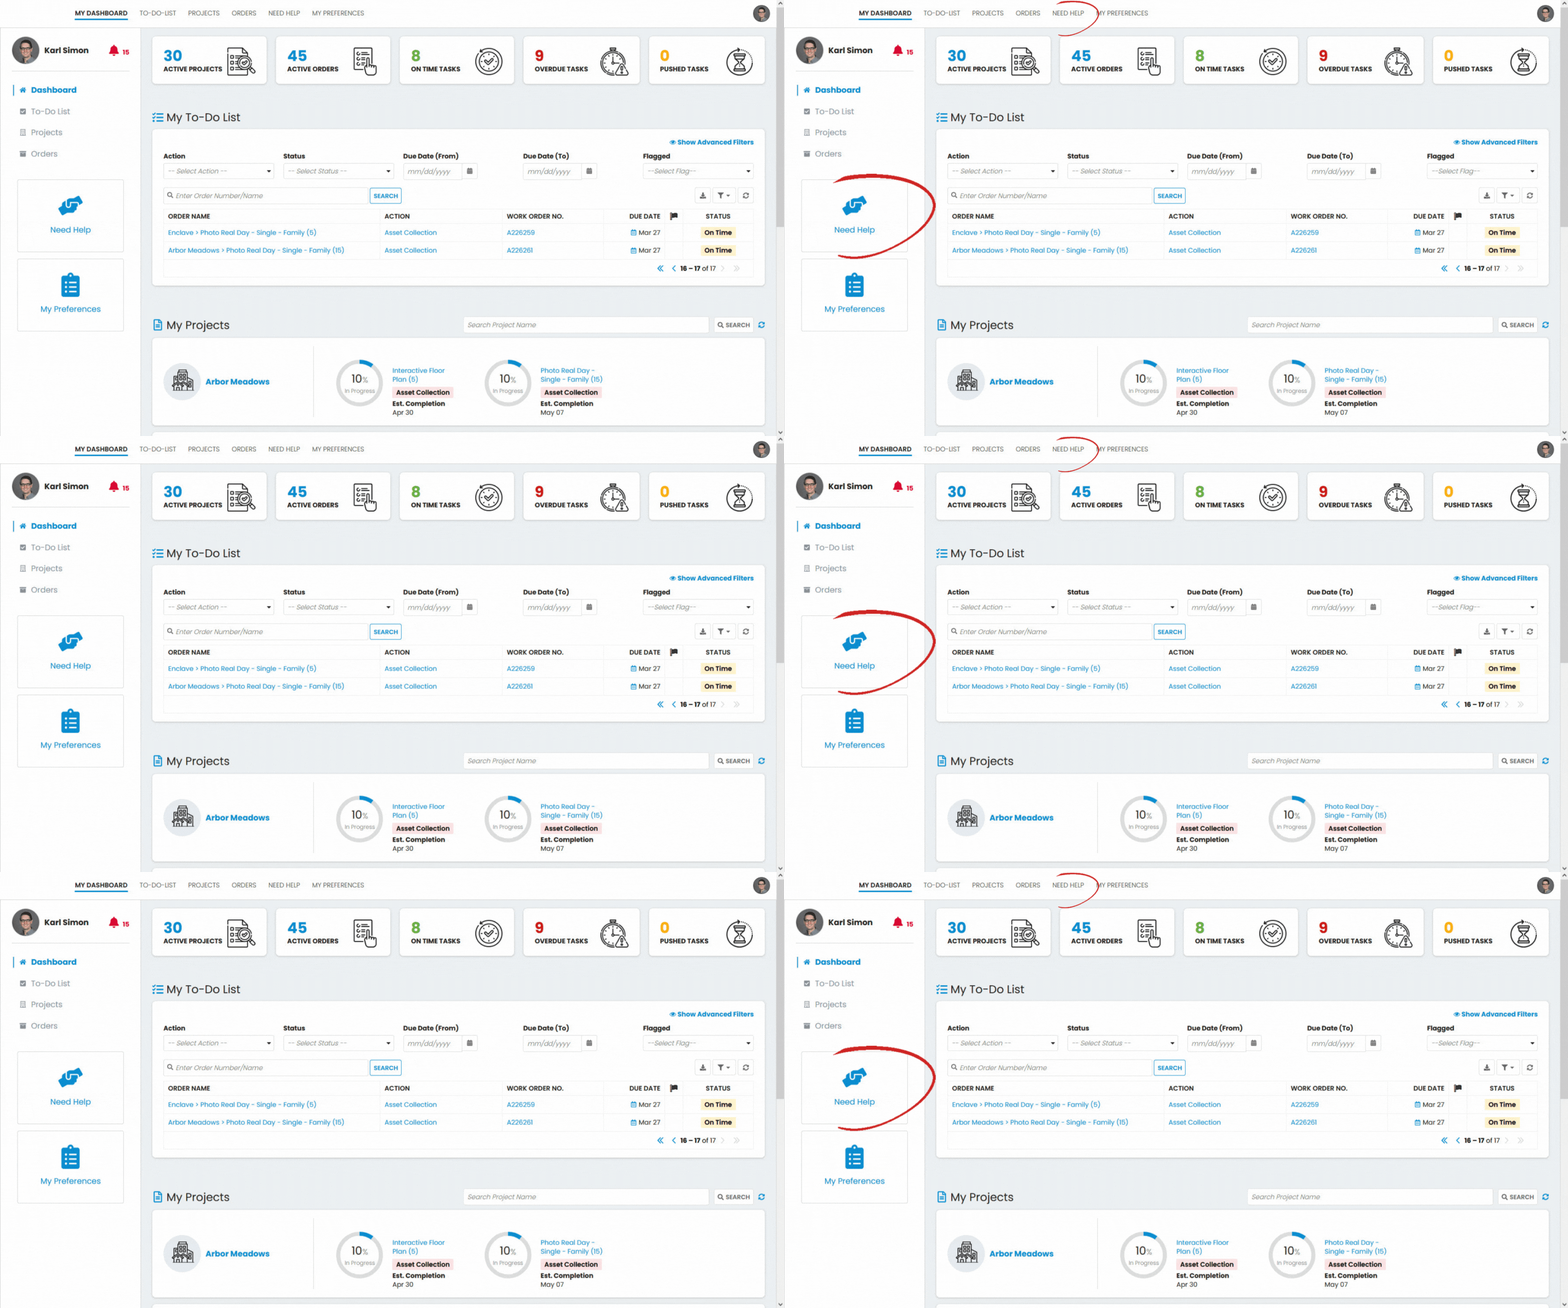
Let’s look at each tab across the top…
Dashboard: The main Dashboard provides the user with a brief overview of all Projects, Orders, and To-Do items at one glance.
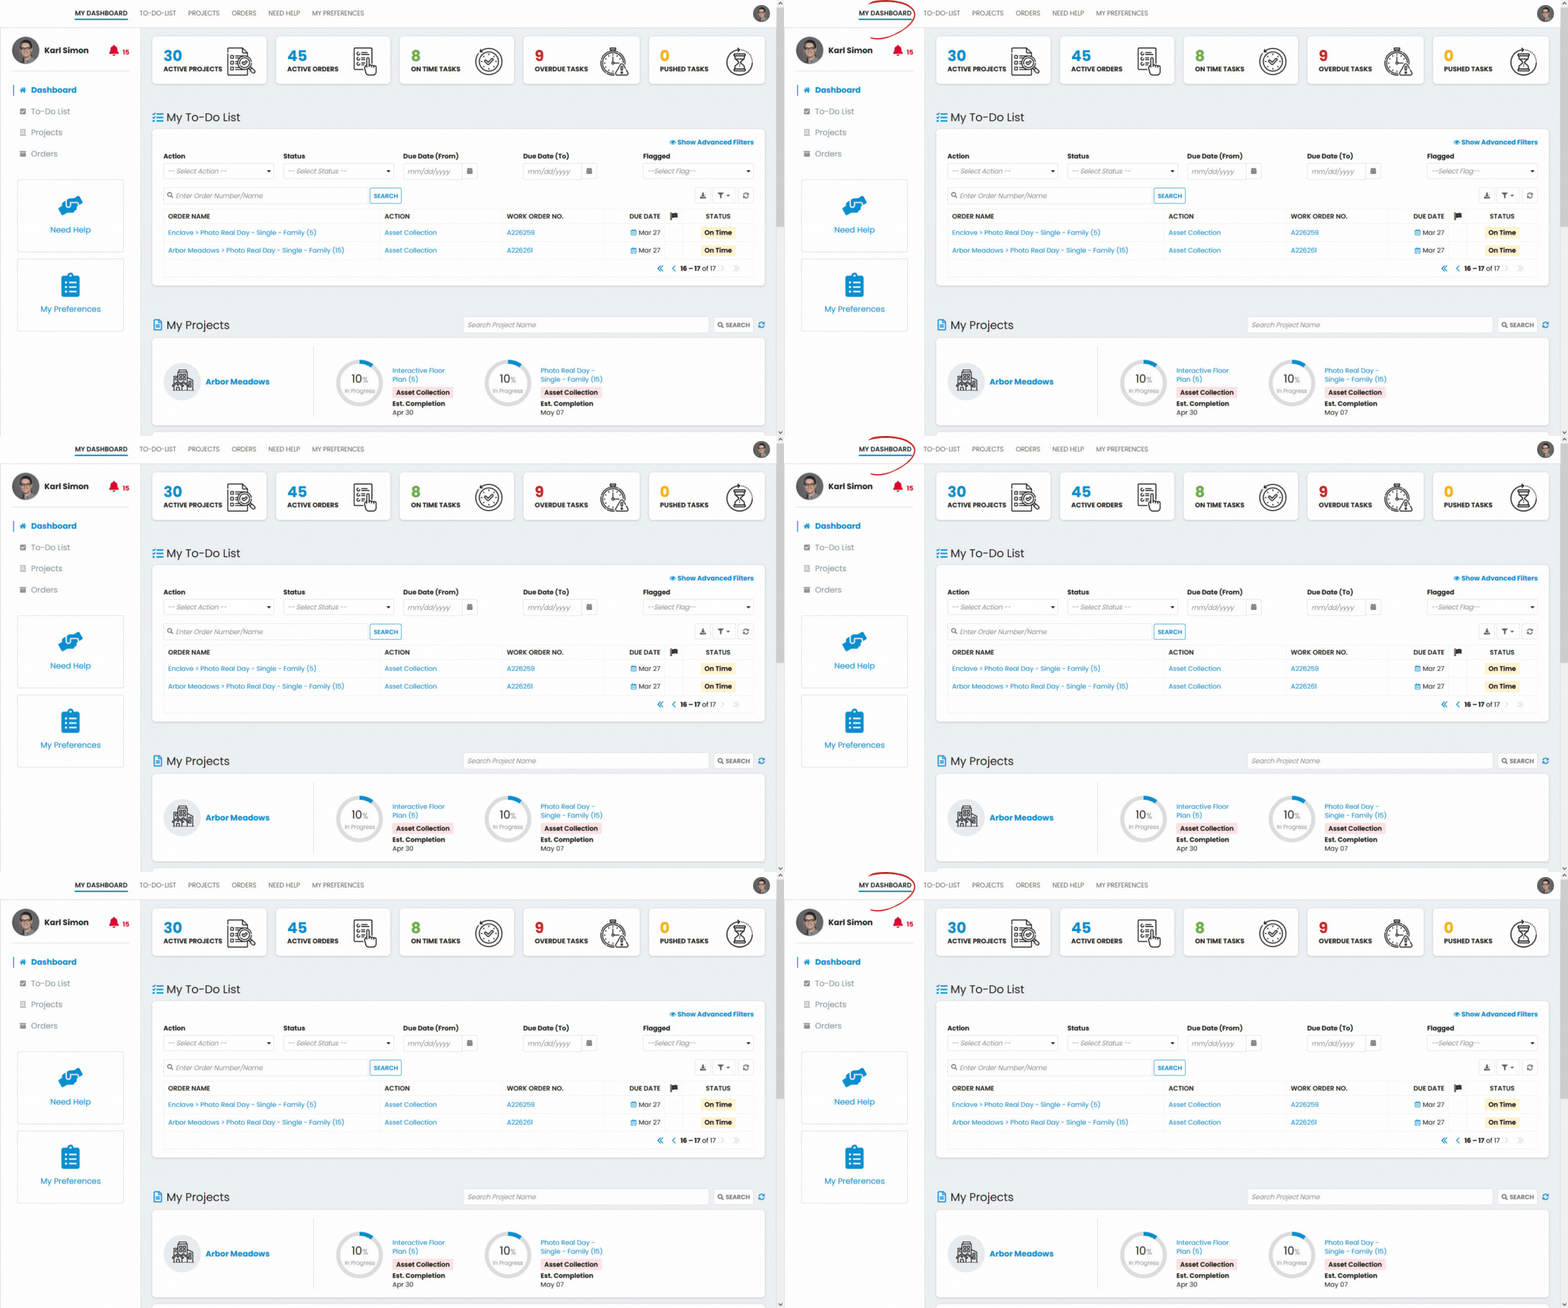
To-Do List: Within the To-Do list tab, you will see a list of tasks which are assigned to you for each order. You will see when your tasks are due and can use the filters to customize your view.

Projects List: Includes a list of all Projects which are available to you.

Orders List: Includes a list of all Orders which are available to you. Also provides details regarding the current Order Status, Milestone, Sub-Milestone, and who is assigned the current Task.

Project Summary: Project summary page can be accessed by clicking on the name of a Project from any screen. It allows the user to quickly view the status of all Orders within a specific Project, including more detailed Milestone progress.
Order – Summary: Order summary page can be accessed by clicking on the name of an Order from any screen. It acts as the main information center for the Order. Order Details, Milestone progress, and timelines are all displayed here.
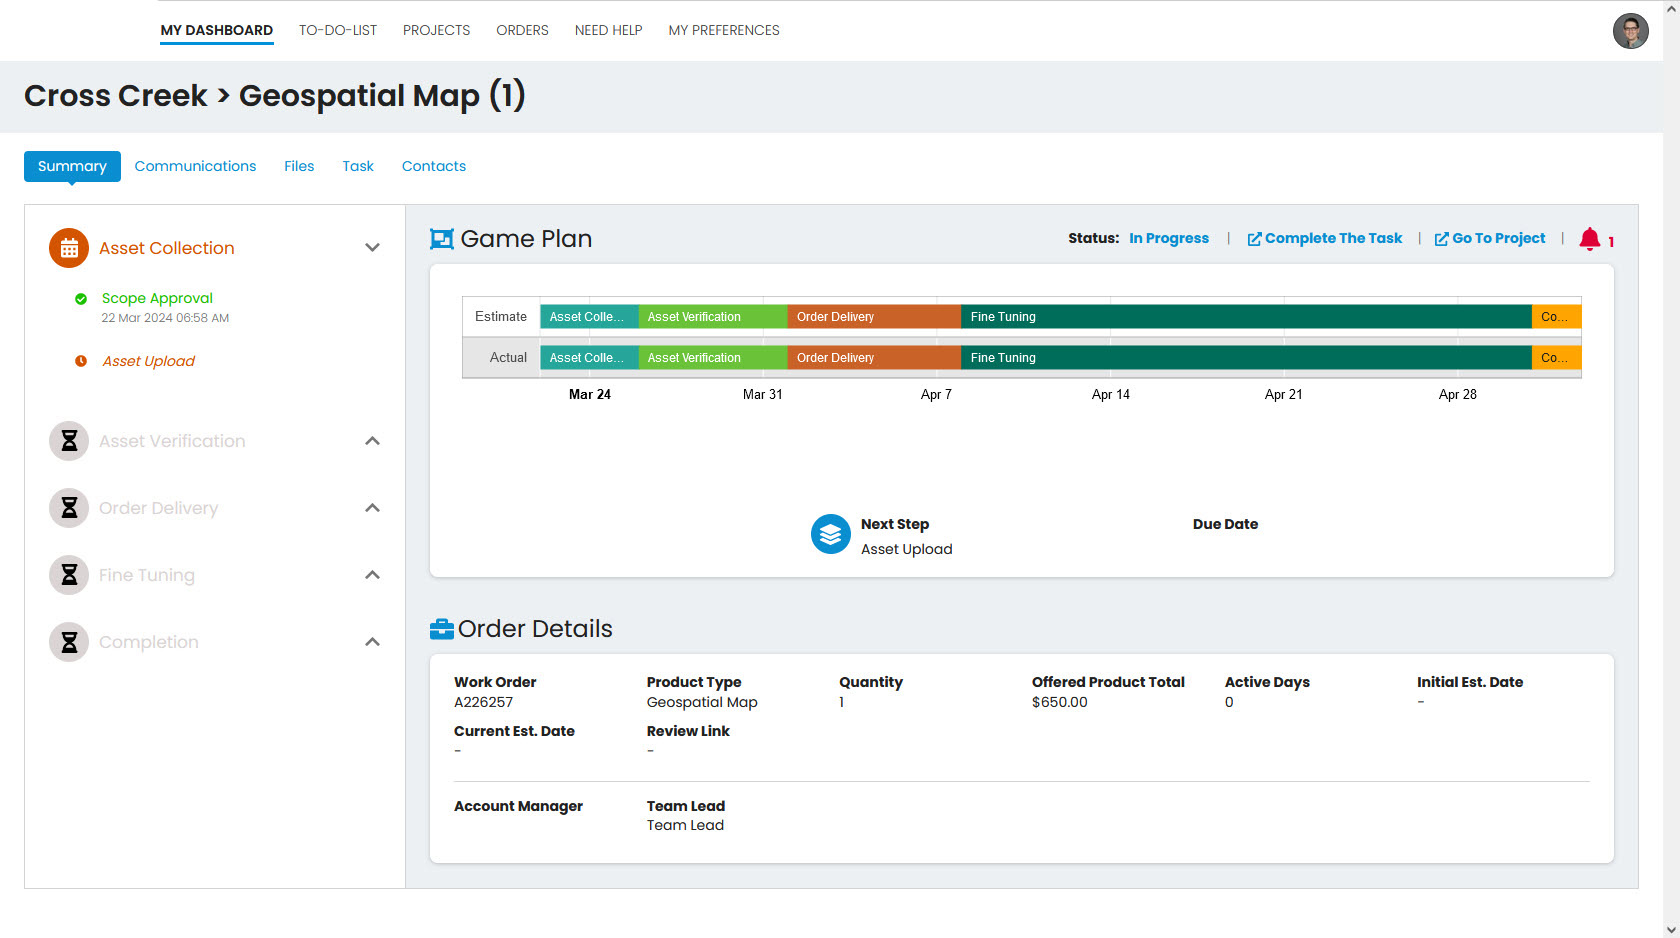
To learn more about the other tabs within the Order page, see video below.
